Draw-SVG
user's guide
Draw-SVG
user's guide
Draw-SVG
user's guide
Draw-SVG
user's guide
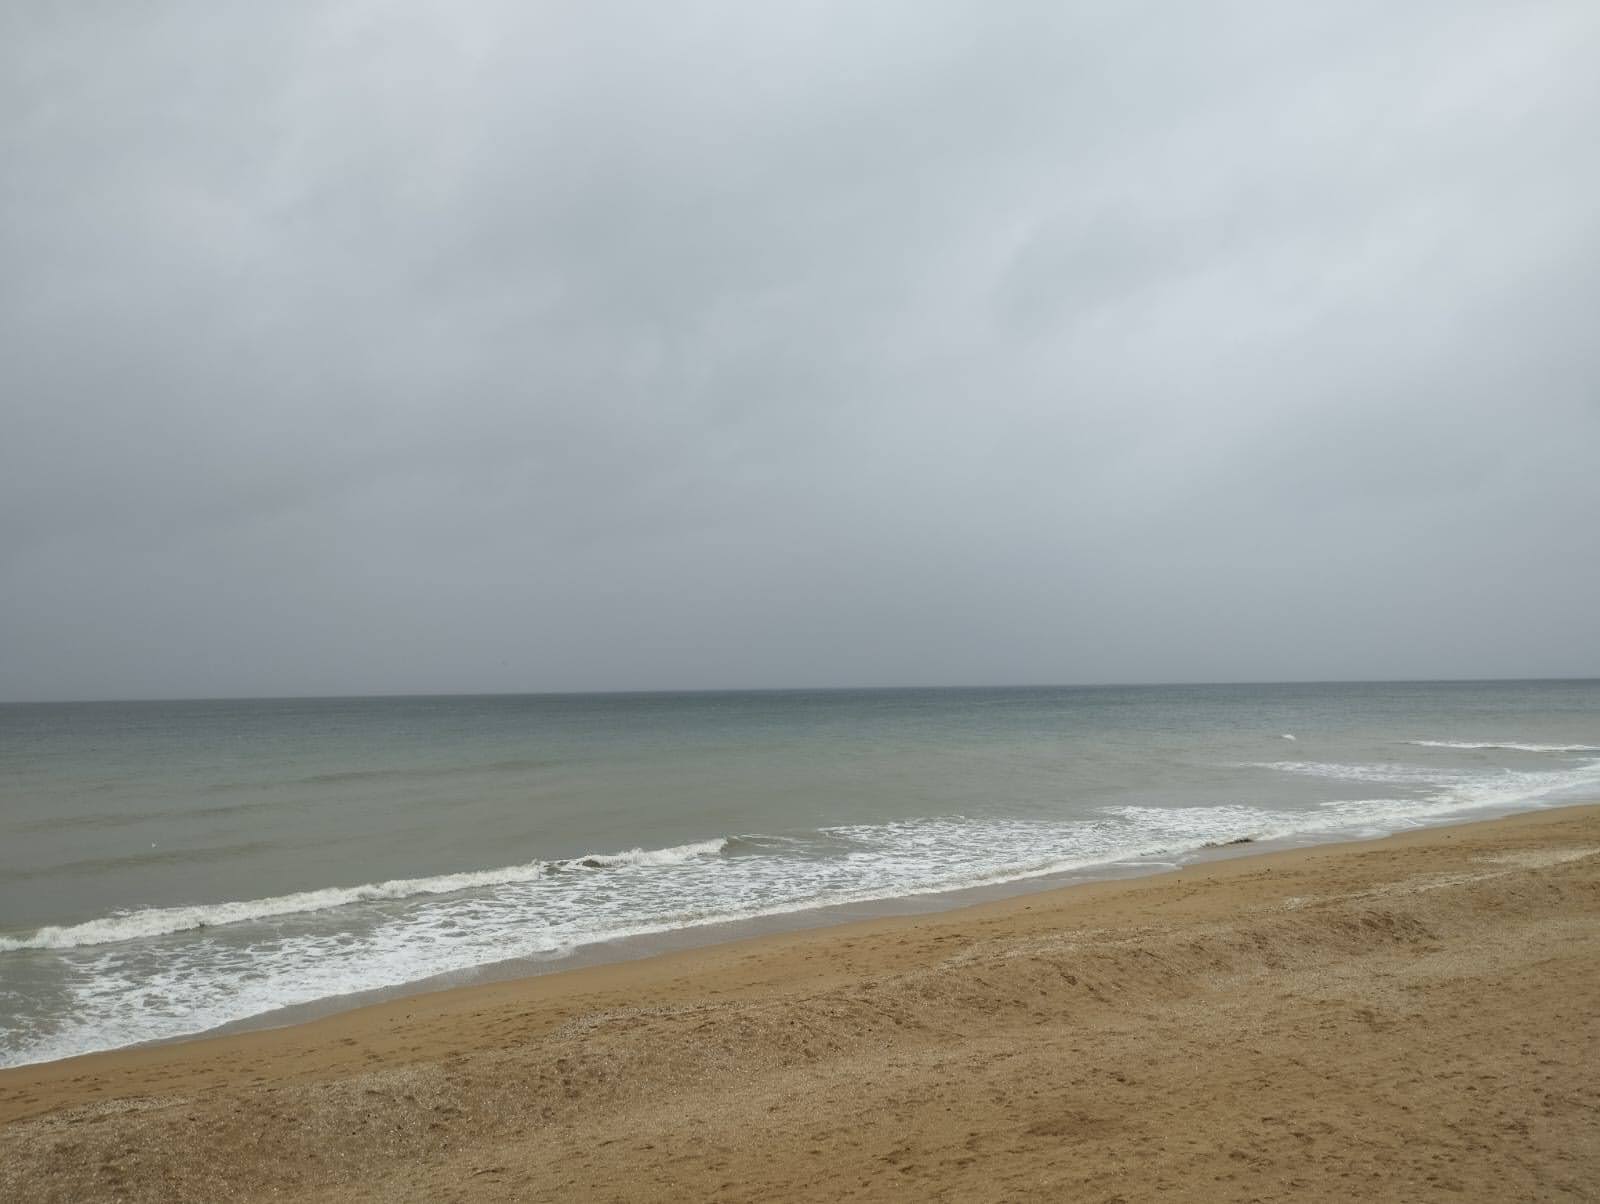
With this tool load an image file (png, jpg, ,..) and generate a SVG drawing. The generated drawing may look like an Impressionist painting.
The generation process follows four steps:
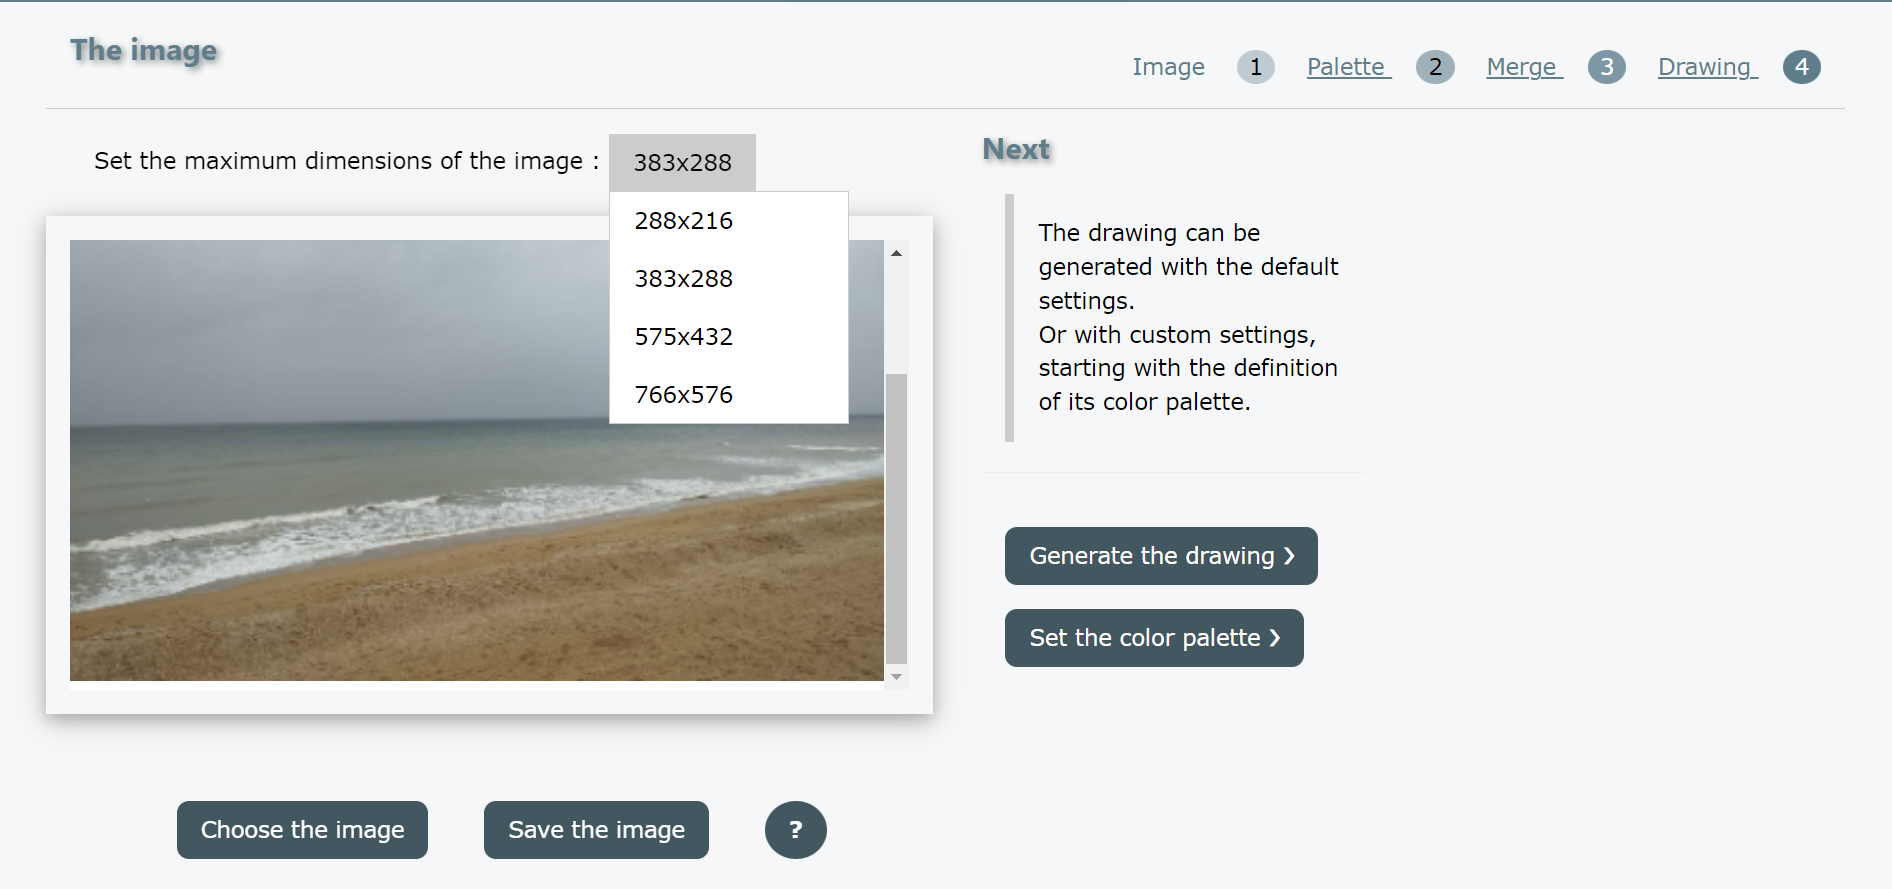
Select the image file and reduce its size
Choosing the color palette
Fusion of nearby pixels
Extraction of contours with filtering and smoothing vertices.
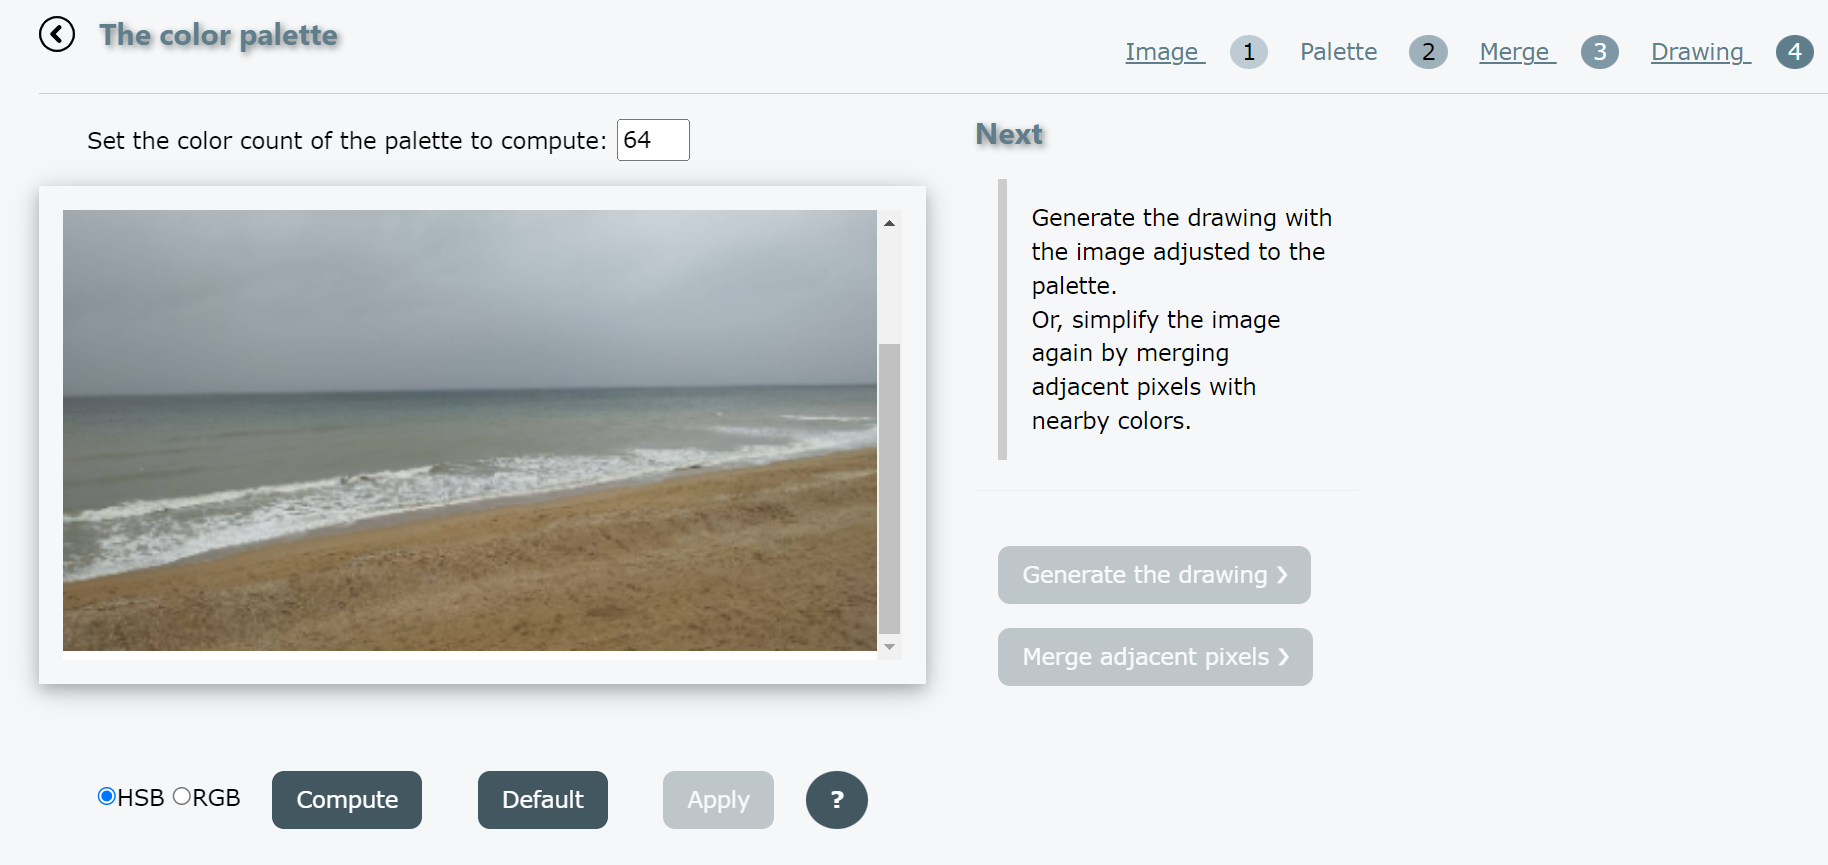
The goal of this step is to reduce the number of colors in the image, which can be very large, to a fixed number by calculating a color palette using a quantification algorithm.
The image is then transformed by applying the color closest to the palette to each pixel.
 |
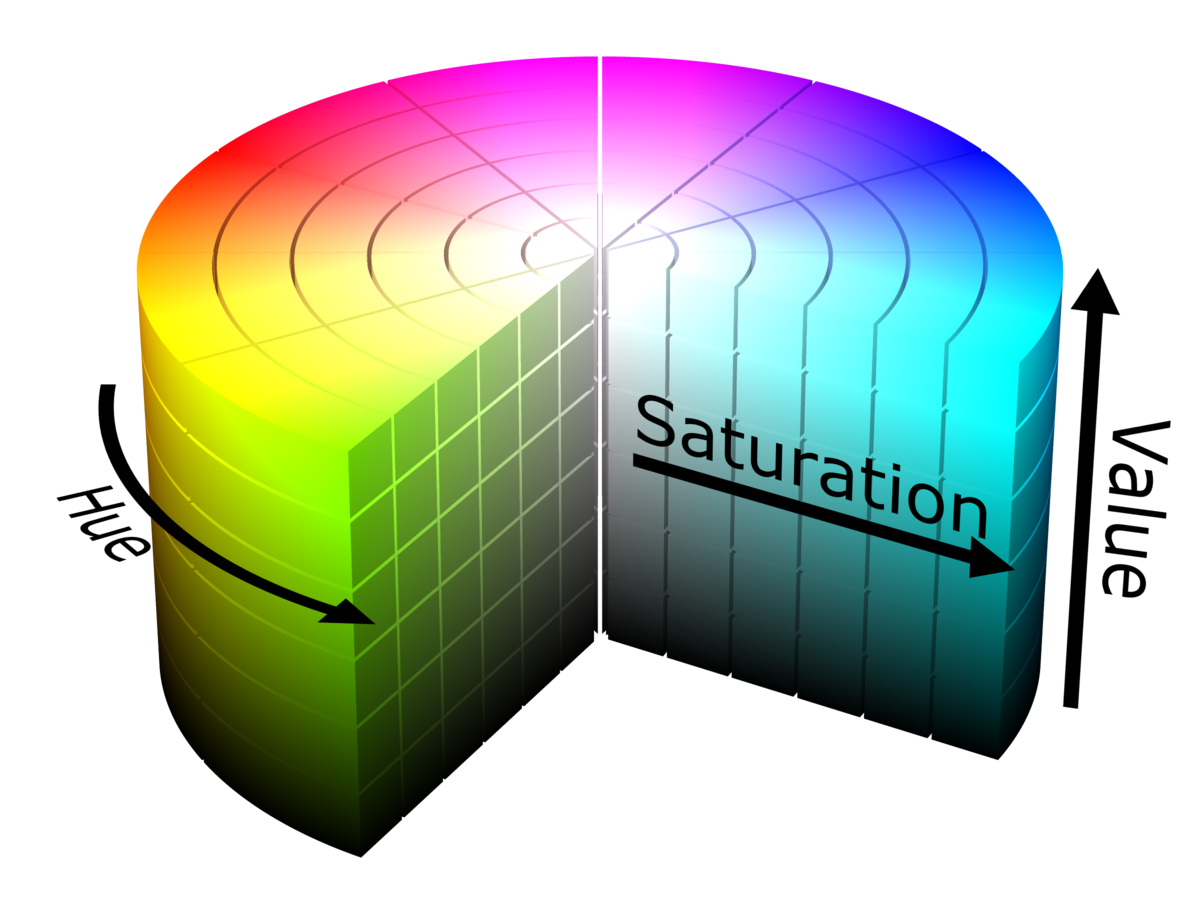
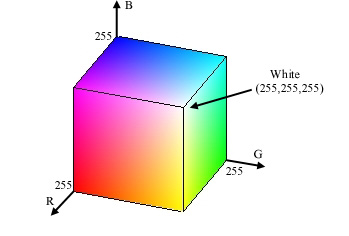
The quantization algorithm calculates the distances between image colors in a three-dimensional space that can be:
|
The HSV (Hue Saturation Value) cylinder |
Or the RGB (Red Green Blue) cube |
Depends of the image HSV space can delivers better results.
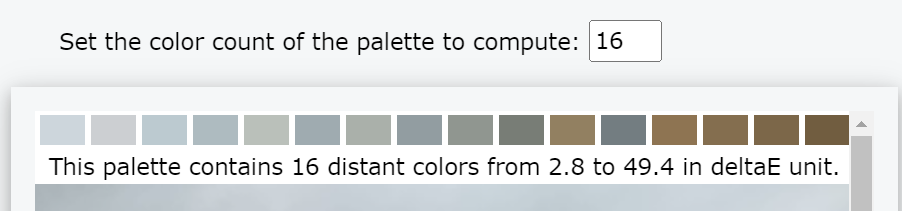
The default palette provides a minimum distance between colors 5 in deltaE unit.
Select the color space, then
Calculate the default palette
Or enter the desired number of colors and calculate it
The palette is drawn at the top of the image:
 |
Apply the color palette, the color of each pixel is assigned to the closest color in the palette :
|
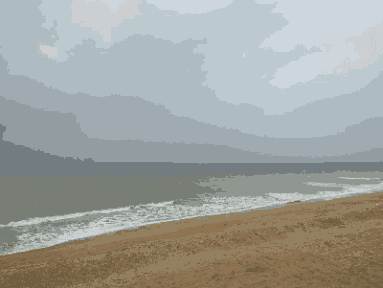
The image before |
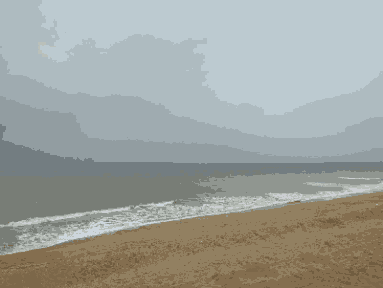
The image after |
The step can be replayed until the correct palette is found. Don't forget that the number of colors chosen affects the size of the SVG file.
This step affects the color of a pixel to its adjacent one, if the distance of its color from that of the adjacent one is less than the chosen distance in deltaE unit.
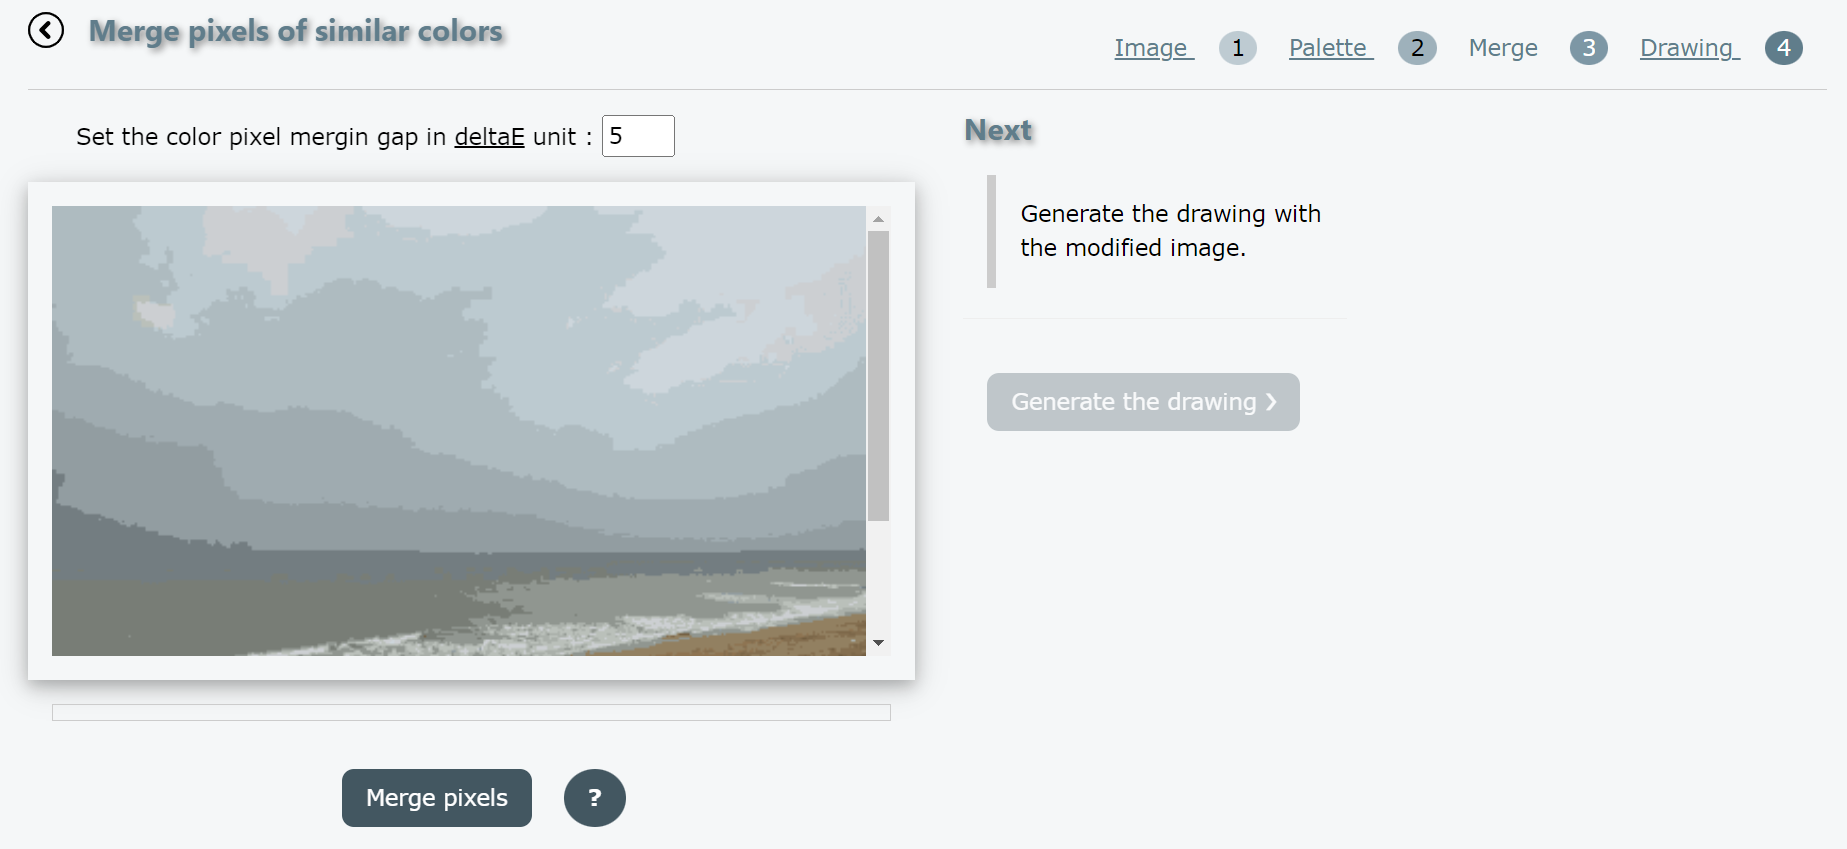 |
The operation reduces the number of contours:
|
The image before merging pixels |
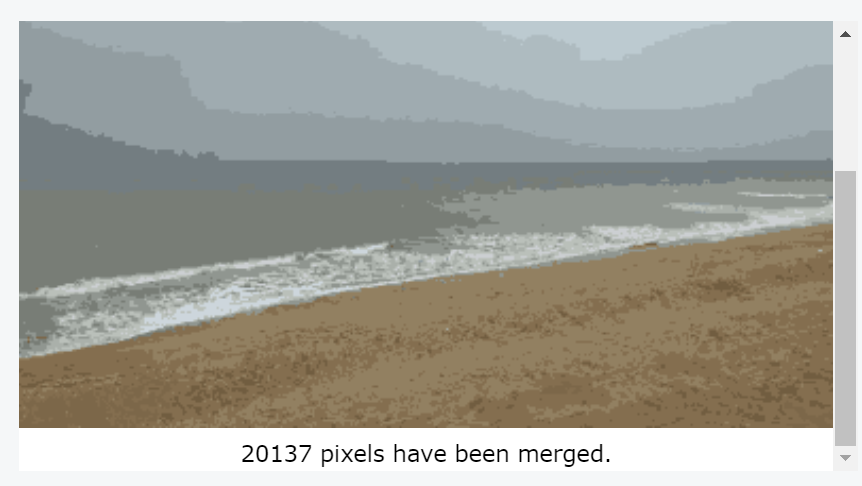
The image after merging pixels with a gap of 5 deltaE units, the number of modified pixels is displayed below the image |
The drawing is generated by extracting contours of identical colors, then filtering the vertices and finally smoothing the vectors.
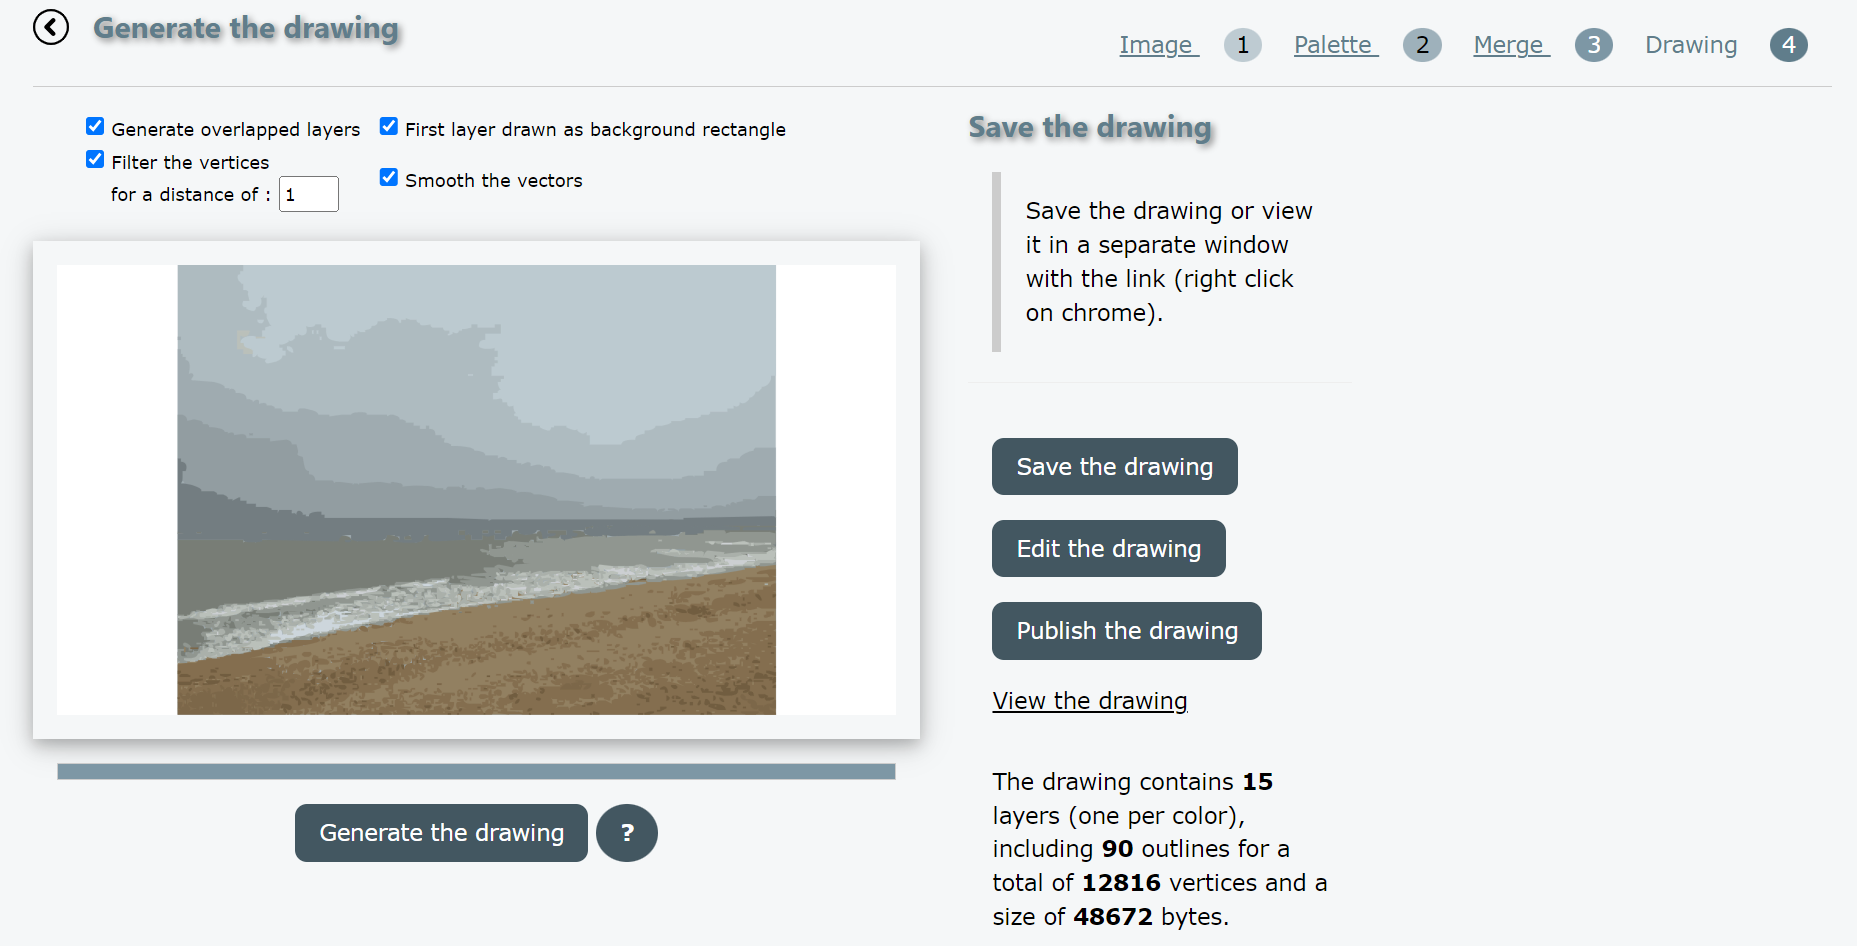 |
The drawing is structured with one layer per color. Layers are generated in descending order of pixel count with a few options:
Generate overlapped layers
Each layer is extended to cover the following ones, otherwise the layers are disjointed and adjacent by their contours. This generally simplifies outlines by removing holes and removes stroke effects at layer boundaries.
First layer drawn as background rectangle
This option reduces the size of the file produced as the dominant color covers the background.
Filter vertices with specified distance
This option simplifies the contours by removing unnecessary points (point with a distance to the chord less than the threshold) and removes staircase effects.
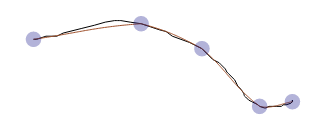 |
Smooth the vectors
The contours are smoothed by substitution of the vectors with cubic or quadratic arcs depending on the curvature. If the layers are generated disjointed, only the concave portions of the contours are smoothed.
|
1 the transformed photo to be vectorized |
2 generated drawing, contours without filters or smoothing |
||
|
3 filtered contours by a distance of 4 |
4 smoothed contours |
The generated drawing is described with its size, number of layers, contours and vertices.
Finally you can:
Save the drawing SVG file
Edit it with drawsvg editor
Publish it with drawsvg board tool
View it in new window